Honda generators are renowned workhorses, built to deliver reliable power for years, even decades. But that legendary Maintenance & Longevity for Honda Generators isn't magic; it's a testament to superior engineering, coupled with consistent, thoughtful care. Think of it less as a chore and more as an investment in uninterrupted power—an investment that can see your Honda generator outlast your car, potentially running for well over 10,000 hours. This guide will walk you through making that impressive lifespan a reality for your own unit, ensuring it hums along faithfully whenever you need it most.
At a Glance: Key Takeaways for Honda Generator Longevity
- Exceptional Lifespan: Honda generators can run for 10,000+ hours, far exceeding typical automobiles.
- Maintenance is Key: Routine care directly translates to extended operational life and reliability.
- Know Your Generator: Understand its indicators (running hours, low oil, overload) to catch issues early.
- Fuel Matters: Always use fresh, stabilized gasoline. Old fuel is a top generator killer.
- Oil is Life: Regular oil changes with the correct type (e.g., SAR 10W-30 SJ for EU2200i) are paramount.
- Breathe Easy: Keep air filters clean for optimal engine performance and efficiency.
- Cleanliness Counts: Exterior wiping and spark arrester cleaning prevent debris buildup.
- Store Smart: Proper post-use care and storage protect your investment from environmental damage.
- Don't Fear the Pro: For complex tasks like carburetor cleaning or valve adjustments, Honda's 2,000+ authorized dealers are your best resource.
Why Your Honda Generator Is Built to Last
Honda didn't just stumble into building durable generators; it's a core philosophy. Their engines are designed for endurance, often employing technologies like the Eco Throttle feature found in models such as the EU2200i. This clever system automatically adjusts engine speed to match the load, dramatically reducing fuel consumption by approximately 40%, cutting emissions, and keeping noise levels incredibly low (48-57 dBA for the EU2200i, thanks to sound dampening and inverter technology). These aren't just comfort features; they significantly lessen wear and tear on the engine, contributing directly to its impressive longevity.
For many owners, the peace of mind comes with knowing their Honda generator is backed by a robust 3-year warranty covering parts and service. But even beyond the warranty, these machines are engineered for the long haul, often outperforming many other pieces of power equipment in terms of sheer operational hours. Factors like the specific engine type, the quality of fuel you use, the environment where it operates, and, critically, the diligence of your maintenance routine all play a role in just how far past that 10,000-hour mark your generator can go.
Decoding Your Generator's Story: Running Hours and Health Indicators
Knowing how many hours your generator has accumulated is like knowing the mileage on your car—it’s a vital metric for understanding its life stage and predicting maintenance needs. For popular models like the Honda EU2200i, checking cumulative running time is straightforward, even if it's a bit cryptic at first glance.
How to Check Running Hours (EU2200i Example)
The EU2200i uses a simple, lighted indicator to communicate its operational history:
- No blinks: Your generator is a fresh face, with 0-100 running hours under its belt.
- One blink: It's seen some action, logging 100-200 hours.
- Two blinks: A seasoned performer, operating for 200-300 hours.
- Five blinks: This generator is truly a veteran, having surpassed 500+ hours of operation.
While it's not a precise digital readout, this indicator gives you a solid estimate for scheduling major service milestones.
Essential Health Alerts: More Than Just Blinks
Beyond running hours, your Honda generator provides other critical insights into its health:
- Green "Output Indicator": This steady green light signifies normal, healthy operation. If it's on, your generator is producing power as expected.
- Overload Indicator: Should you plug in too many appliances or exceed the generator's capacity, this light will illuminate, warning you to reduce the load. Ignoring an overload can damage connected devices and the generator itself.
- Low Oil Alert: This is a crucial safety feature. If the oil level drops below a safe threshold, this light will come on, and the engine will automatically shut down. This isn't a malfunction; it's an essential protective measure designed to prevent catastrophic engine damage from insufficient lubrication. Always address a low oil alert immediately before restarting.
Understanding these simple indicators empowers you to proactively manage your generator's health, preventing small issues from escalating into costly repairs.
The Cornerstones of Longevity: A Comprehensive Maintenance Regimen
Proper and routine maintenance isn't just a suggestion for Honda generators; it's the bedrock of their extended lifespan. Neglecting these simple steps can quickly erode the quality and reliability built into every unit. While Honda provides over 2,000 authorized dealers across the U.S. for professional service, many key maintenance tasks are perfectly manageable for a DIY enthusiast armed with the Owner's Manual and a few online resources.
General & Routine Care: The Everyday Habits
These are the fundamental tasks that should be performed regularly, either based on running hours or calendar time, whichever comes first.
- Keep It Clean: A simple damp cloth is all you need for the outer shell. Avoid using running water directly on the generator, as it can damage electrical components. Regular wiping prevents dirt, dust, and grime from accumulating and potentially entering critical areas.
- Oil Changes Are Non-Negotiable: Just like your car, the engine oil in your generator degrades over time and with use. Regular oil changes are perhaps the single most impactful maintenance item for engine longevity.
- Air Filter Health: A clean air filter ensures your engine gets a steady supply of clean air, which is vital for efficient combustion and prevents harmful particles from entering the engine.
- Spark Plug Inspection & Replacement: The spark plug is responsible for igniting the fuel-air mixture. A fouled or worn plug can lead to hard starting, misfires, and reduced efficiency.
- Spark Arrester Cleaning: Located inside the muffler, the spark arrester prevents hot carbon particles from escaping and potentially starting fires. It needs periodic cleaning to prevent blockages that can affect engine performance.
- Valve Adjustments (Pro Recommended): This is a more advanced task, often best left to a certified Honda technician. Properly adjusted valves ensure optimal engine compression and performance.
Environmental Factors: When to Be More Diligent
Your generator's operating environment significantly impacts its maintenance schedule. If your unit is regularly exposed to:
- Extreme dust or dirt: Air filters will clog faster, requiring more frequent cleaning or replacement.
- Smoke or pollutants: This can affect air filter and spark plug performance.
- Sleet, extreme cold, or high humidity: Can lead to moisture issues, corrosion, and harder starts, necessitating more frequent checks and protective measures.
In these conditions, shorten your maintenance intervals to keep your generator in top shape.
Before You Hit "Start": The Pre-Use Checklist
Every time you plan to fire up your Honda generator, especially after a period of storage, a quick pre-use check can save you headaches and ensure safe operation.
- Check the Oil Level: This is paramount. Ensure the oil level is correct on the dipstick. For models like the EU2200i, use manufacturer-recommended SAR 10W-30 SJ oil. If the oil looks dirty or if it’s been over 50 hours since the last change, now’s the time to refresh it.
- Inspect and Clean/Replace the Air Filter: A clean air filter is vital for performance. Foam filters can often be cleaned with soapy water, thoroughly rinsed, and completely dried before re-oiling slightly. Paper elements typically need replacement.
- Spark Plug Review: Remove the spark plug and inspect its condition. Use a wire brush to remove any carbon deposits. If the electrode is worn, cracked, or otherwise damaged, replace it.
- Fuel Check-Up: Always fill the tank with fresh, clean gasoline. If old fuel has been sitting in the tank for more than a month or two (especially without stabilizer), drain it and refill with fresh fuel. Stale fuel is a common culprit for starting problems.
- Look for Leaks and Damage: Take a moment to inspect fuel lines for cracks or brittleness, and check all connections for looseness. Address any leaks or damaged components before starting.
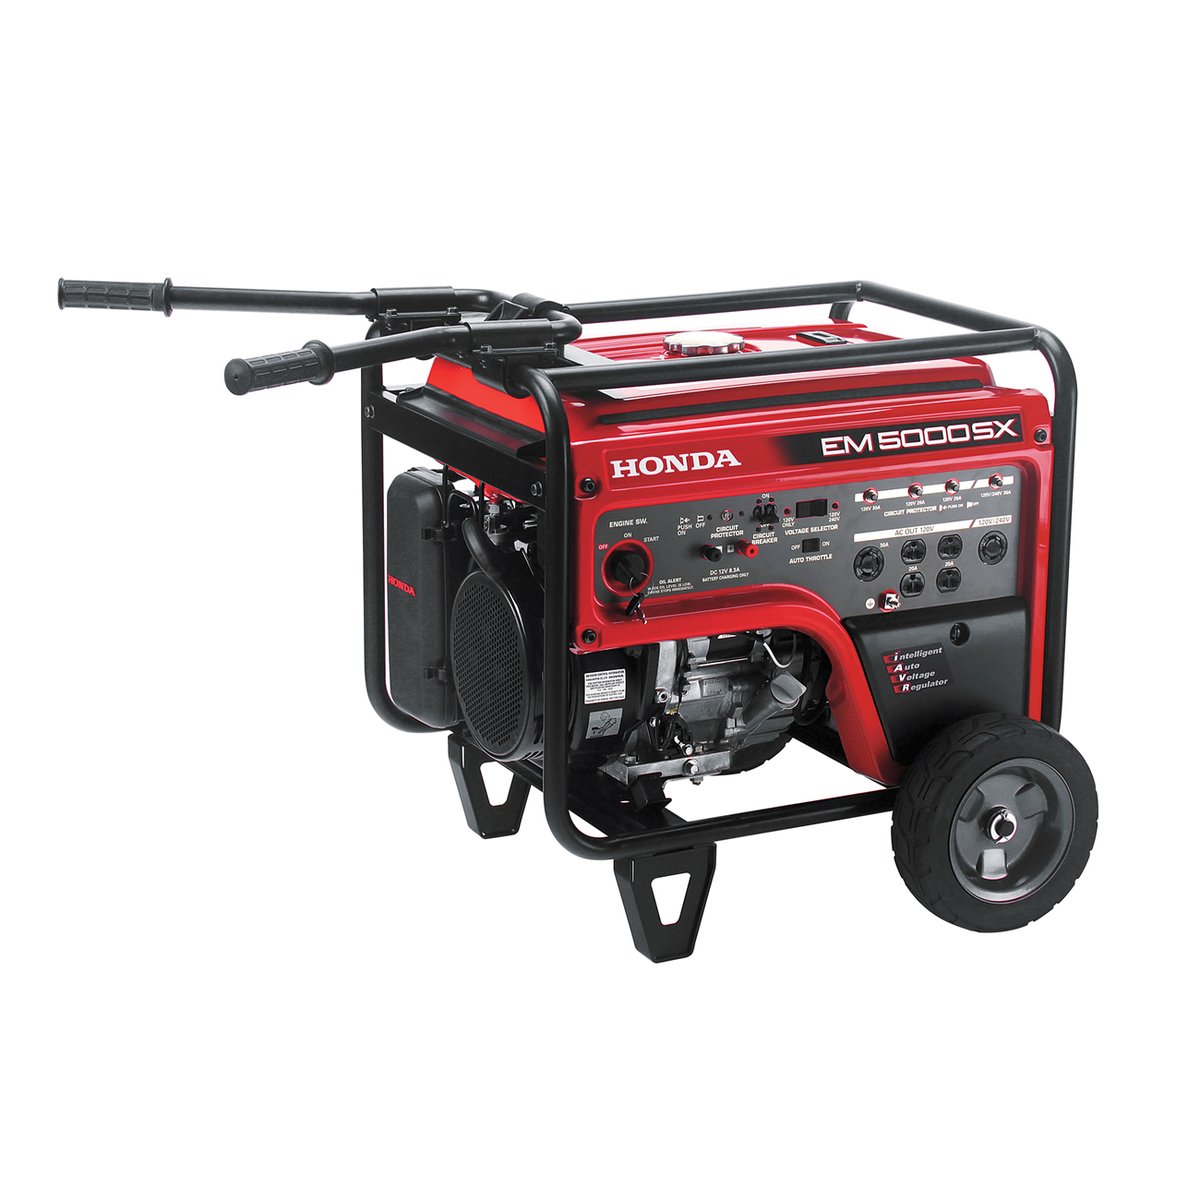
These quick checks take mere minutes but provide crucial assurance that your generator is ready for reliable operation. If you're looking to upgrade or expand your generator capabilities, you might want to Explore the Honda 5000 generator for heavier-duty power needs.
Keeping It Humming: Best Practices During Operation
Once your Honda generator is running, a few simple guidelines ensure its safety and continued performance.
- Clear the Area: Always operate your generator on a stable, level surface, away from debris, dirt, and excessive moisture. This prevents foreign objects from entering the cooling system or engine, and avoids tipping hazards.
- Ventilation is Non-Negotiable: This is a critical safety point. Generators produce dangerous carbon monoxide. NEVER operate a generator in an enclosed space, such as a garage, shed, or basement. Always place it outdoors, far from windows, doors, and vents that could allow exhaust fumes to seep indoors.
- Clear the Exhaust: Ensure the generator's exhaust port is clear and unobstructed. Blocked exhaust can lead to engine overheating and dangerous carbon monoxide buildup.
Power Down, Protect Up: After-Use Care and Storage
How you handle your generator immediately after use and how you store it can significantly impact its readiness for the next run and its overall lifespan.
- Cool Down Period: After extended use, let the generator run for a few minutes without a load. This allows the engine to cool down gradually, preventing heat shock and extending component life.
- Wipe Down: Once cool, give the exterior a quick wipe-down to remove any dust, dirt, or moisture. This prevents corrosion and keeps the unit looking good.
- Fuel Management for Storage:
- Short-Term (a few weeks): If you plan to use it again soon, you can leave fuel in the tank if it's treated with a fuel stabilizer.
- Long-Term (over 1 month): It's always best to drain the fuel tank completely and run the generator until it sputters out of fuel. This ensures the carburetor is empty, preventing fuel varnish from clogging tiny passages—a leading cause of "no start" issues after storage.
- Optimal Storage: Store your Honda generator in a dry, cool, and well-ventilated location. Protecting it with a generator cover (especially if storing for a season) keeps dust and moisture at bay.
A Deeper Dive into Key Maintenance Tasks
Some maintenance items require a bit more attention to detail. Let's break down the critical ones.
Oil Changes: The Lifeblood of Your Engine
Engine oil performs multiple vital functions: it lubricates moving parts, cools the engine, cleans internal components, and prevents corrosion. Old, dirty oil loses its viscosity and effectiveness, leading to increased friction, heat, and accelerated wear.
How to Change Oil (Honda EU2200i Example):
- Warm It Up: Run the generator for a few minutes to warm the oil. Warm oil drains more completely.
- Position for Drainage: Place the generator on a 3-4 inch elevated surface (like sturdy blocks or a small bench) to allow clearance for a drain pan.
- Power Down Safely: Turn the engine switch and fuel cap vent to the "off" position.
- Access the Drain: Locate and remove the maintenance cover. Place a suitable drain pan underneath the oil drain plug.
- Drain the Old Oil: Carefully remove the oil filler cap/dipstick and tip the generator slightly to allow all the old oil to drain into the pan. This typically comes from the same port you fill.
- Refill with Fresh Oil: Once drained, ensure the generator is level and add approximately 14 ounces of fresh SAR 10W-30 SJ oil.
- Check the Level: Use the dipstick (insert fully, but don't screw in for most models) to verify the oil level is within the safe operating range. Do not overfill.
- Secure & Clean: Replace the oil filler cap/dipstick and maintenance cover. Dispose of used oil responsibly at an approved recycling center.
Aim to change the oil after the first 20 hours of operation (break-in period) and then every 50-100 hours or at least once a year, whichever comes first.
Air Filter: Letting Your Generator Breathe Easy
A clean air filter is crucial for two reasons: it prevents dirt and debris from entering and damaging the engine, and it ensures proper air-fuel mixture for efficient combustion. A clogged filter starves the engine of air, causing it to run rich, consume more fuel, and potentially overheat.
- Foam Filters: These are common in many Honda models. They can often be cleaned with warm, soapy water, rinsed thoroughly until the water runs clear, and then allowed to air dry completely. Once dry, lightly oil them with a small amount of engine oil, squeezing out any excess.
- Paper Filters: These are typically found in larger or more industrial units. Paper filters are not washable and must be replaced if they are dirty, torn, or clogged.
Inspect your air filter before each use, and clean/replace it every 50 hours or annually, more often in dusty conditions.
Spark Plug: The Ignition Point
The spark plug creates the spark that ignites the fuel-air mixture, initiating combustion. A dirty, worn, or incorrectly gapped spark plug can cause misfires, reduce fuel efficiency, and make starting difficult.
- Inspection: Remove the spark plug and examine the ceramic insulator and electrode. Look for signs of carbon buildup (black and sooty), oil fouling (black and wet), or excessive wear.
- Cleaning: For carbon deposits, use a wire brush to gently clean the electrodes. Avoid aggressive brushing that could damage the insulator.
- Gapping: Check the spark plug gap with a feeler gauge and adjust it if necessary (consult your owner's manual for the correct gap specification).
- Replacement: If the plug is heavily fouled, has a cracked insulator, or shows significant electrode wear, replace it with a new one of the exact specified type.
Check the spark plug every 100 hours or annually, and replace it as needed, typically every 200-300 hours.
Spark Arrester: Clearing the Exhaust Path
The spark arrester is a small screen located inside the muffler that catches any hot carbon particles before they can exit the exhaust and potentially ignite dry vegetation. Over time, these screens can become clogged with carbon, restricting exhaust flow and impacting engine performance.
- Cleaning: After ensuring the generator is cool, remove the spark arrester (often held in place by a screw on the muffler). Use a wire brush to thoroughly clean any carbon buildup from the screen. If it's heavily corroded or damaged, replace it.
Clean the spark arrester every 100 hours or annually.
Tackling the Carburetor: When to DIY, When to Call a Pro
The carburetor is a precision instrument responsible for mixing fuel and air in the correct proportions. It's particularly sensitive to issues caused by old, degraded fuel, which can leave behind sticky varnish that clogs tiny fuel passages.
- The Challenge: Cleaning a carburetor can be complicated, requiring disassembly, careful cleaning of tiny jets, and reassembly. Mistakes can lead to worse performance or damage.
- DIY Resources: There are numerous online resources, including YouTube videos, that provide step-by-step guides for specific Honda generator carburetors. If you're mechanically inclined and patient, it's a feasible DIY task.
- Professional Recommendation: For most users, especially if you're not confident in your mechanical skills, professional service from a Honda dealer is highly recommended. They have the specialized tools, knowledge, and experience to clean or rebuild carburetors correctly, ensuring optimal engine performance.
Preventative measures, like always using fresh, stabilized fuel and draining the fuel system for long-term storage, are the best way to avoid carburetor problems in the first place.
Valve Adjustments: Precision for Performance
Valve adjustments ensure that the engine's intake and exhaust valves open and close at precisely the right time and for the correct duration. Incorrectly adjusted valves can lead to:
- Reduced engine power and efficiency.
- Hard starting.
- Increased engine noise.
- Potentially severe engine damage over time.
This is an advanced maintenance task that requires specialized tools (like a feeler gauge) and a precise understanding of engine mechanics. It's best performed by a certified Honda technician who can ensure the correct clearances are set. Improper valve adjustment can be detrimental to engine longevity.
Your Maintenance Toolkit: Essential Gear
Having the right tools on hand makes maintenance tasks much smoother:
- Socket Wrench Set: For spark plugs, oil drain plugs, and cover removal.
- Spark Plug Wrench: Often a specific size.
- Wire Brush: For cleaning spark plugs and spark arresters.
- Feeler Gauge: Essential for checking spark plug gap and valve clearances (if doing advanced DIY).
- Oil Drain Pan: To collect used oil cleanly.
- Funnel: For mess-free oil refills.
- Clean Rags: Always useful.
- Safety Glasses and Gloves: Protect your eyes and hands.
- Fuel Stabilizer: A must-have for any fuel you plan to store.
- Owner's Manual: Your most important tool, containing model-specific instructions and specifications.
Common Questions About Honda Generator Longevity
How long do Honda generators really last?
With proper maintenance, Honda generators are estimated to last well over 10,000 hours of running time. This is significantly longer than an average automobile's 5,000 hours. Many owners report their units lasting 15-20 years or more with diligent care.
What is the biggest killer of a Honda generator?
The most common culprit for premature generator failure or starting issues is stale, untreated fuel. Ethanol in modern gasoline can attract moisture, separate, and leave gummy deposits that clog the carburetor. Improper storage of fuel is often overlooked.
Can I do my own maintenance or do I need a dealer?
Many routine tasks like checking oil, cleaning the exterior, and inspecting air filters can easily be done by owners. Honda provides comprehensive Owner's Manuals for DIY guidance. However, for more complex tasks such as valve adjustments or deep carburetor cleaning, utilizing one of Honda's over 2,000 authorized dealers in the U.S. is recommended to ensure the work is done correctly and to preserve warranty coverage.
What kind of oil does my Honda EU2200i use?
The Honda EU2200i typically uses SAR 10W-30 SJ oil. Always check your specific owner's manual for the exact recommended oil type and viscosity range suitable for your operating temperatures.
How often should I change the oil in my Honda generator?
Generally, change the oil after the first 20 hours of operation (break-in oil change) and then every 50-100 hours or at least once a year, whichever comes first. If you operate in very dusty or extreme conditions, more frequent changes may be necessary.
Why did my Honda generator shut down automatically?
The most common reason for an automatic shutdown is the low oil alert. Honda generators are equipped with a sensor that triggers an engine shutdown to protect it from running with insufficient lubrication, preventing severe damage. Other reasons could include an overload condition or an internal fault.
Investing in Reliability: Your Next Steps
Your Honda generator is more than just a piece of equipment; it's a lifeline during outages, a reliable partner on job sites, and a convenience for outdoor adventures. By embracing a proactive approach to Maintenance & Longevity for Honda Generators, you're not just extending its life; you're ensuring that dependable power is always at your fingertips when you need it most.
Take a moment now to:
- Locate your Owner's Manual: Familiarize yourself with your specific model's maintenance schedule and procedures.
- Gather your basic toolkit: Ensure you have the essentials for routine checks.
- Inspect your generator: Perform a quick visual check for any obvious issues.
- Plan your next maintenance interval: Mark it on your calendar or set a reminder based on estimated running hours.
Whether you choose to perform the routine tasks yourself or rely on the expertise of a Honda authorized dealer, consistent care is the ultimate guarantee of performance and peace of mind.